How to create a channel.
How to create a channel.

This guide provides the process for creating a channel on Connect, making it easy for users to set up their own communication space. It covers essential features like privacy settings and member permissions, allowing for tailored control over the channel's functionality.
1. Go to app.nextere.com.
2. On the upper right corner click on the 9 dots.
3. Click the "Connect" application.
4. Go to the left side of the screen and click on "Channels".
5. In "Channels", click on the + icon to add a channel.
6. The channel creation window will appear on the right. Create your channel name, invite members and decide on the level of privacy and channel permissions you want to give to members.
7. Fill in the name of the channel. In this case, I'm naming my channel "Test Channel."
8. Choose the members you want to be part of your channel.
9. "Privacy Settings" will limit who can access the chat.
10. "Channel Permissions" provides control of every aspect of the channel to the creator. "Users" can limit who can send messages.
11. Who can share files.
12. Who can download files.
13. Who has the ability to initiate meetings in the channel.
14. Who has access to the screen share function.
15. Who can edit messages.
16. Who can delete messages.
17. Who can add more members to the channel.
18. And finally, who is able to edit the channel in general.
19. Once the user has decided on their desired settings they need to click on "Create Channel".
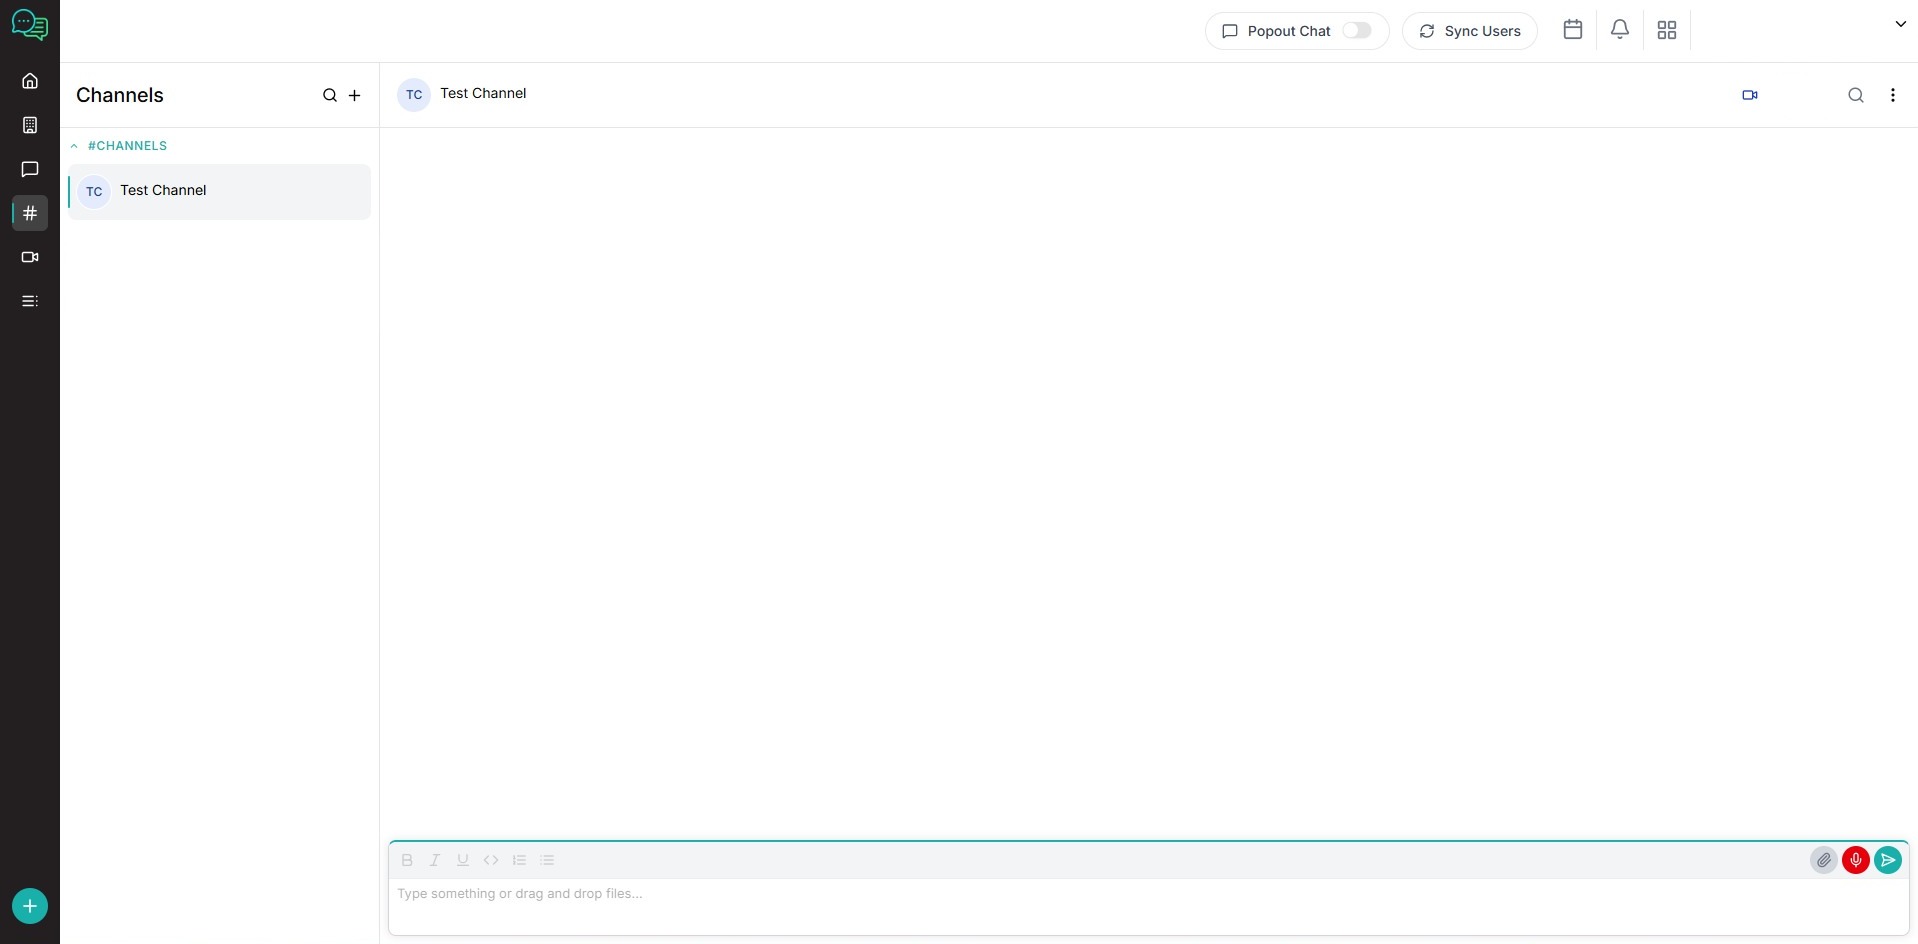
20. Once created the channel will appear under "Channels".
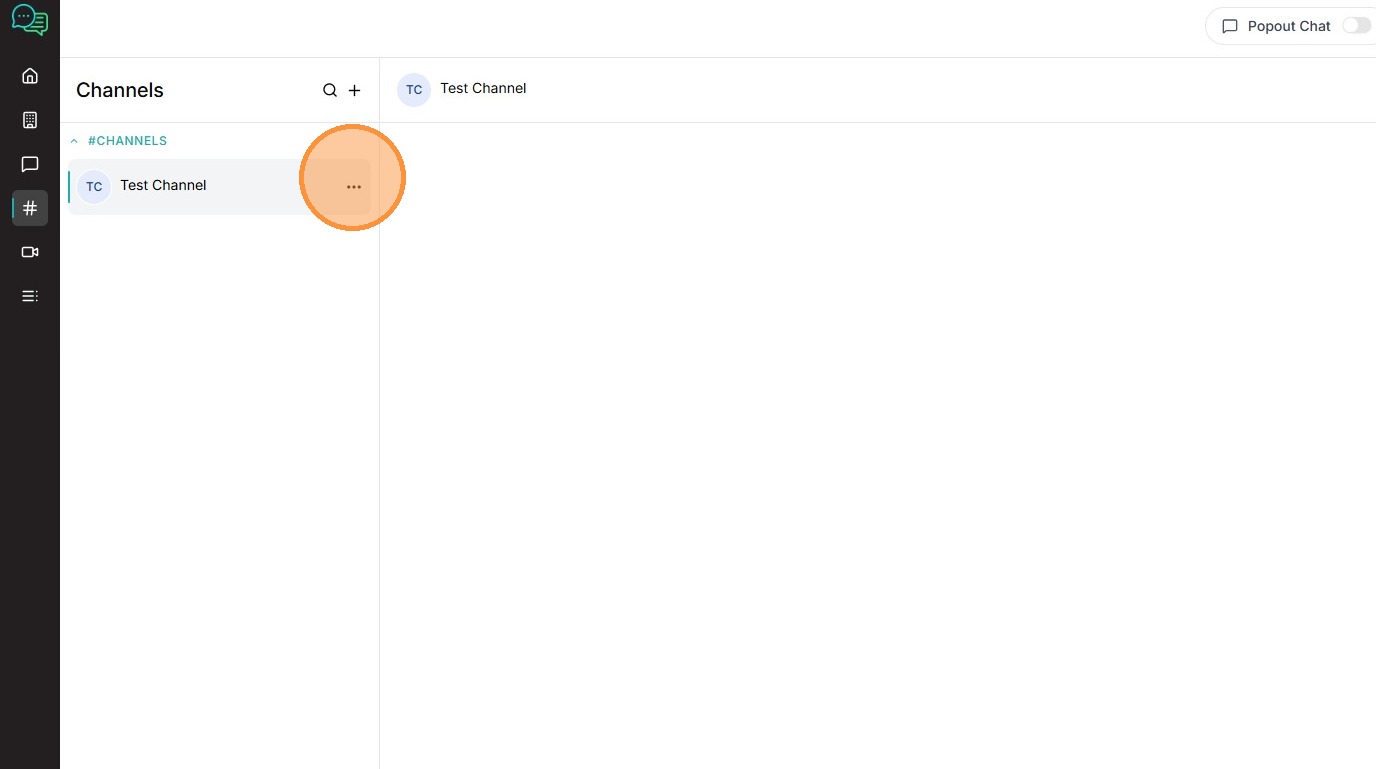
21. If the user wants to remove the channel, they can click on the three dots next to the channel name.
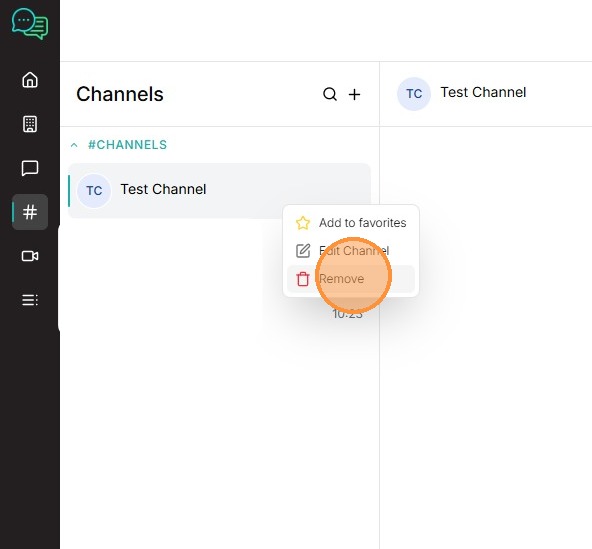
22. Click "Remove" and the channel will be deleted.
Related Articles
How to manage Channels
Creating and Configuring Channels in Nextere Connect The Nextere Connect section is your central place for team communication, and collaboration. From here you can view active users, manage and create channels, and quickly start or join chats. Open ...How to use the Messenger in Connect
The Messenger The Messenger module allows you to communicate instantly with staff members across your agency. You can view existing chats, search for contacts, start new conversations, and send messages or attachments—all from one unified interface. ...Managing meeting using Nextere Connect
Managing Meetings in the Nextere Connect Meetings Section The Meetings section in Nextere Connect helps you start instant meetings, schedule future sessions, and join existing meetings from a single view. Use this screen to manage all your meetings ...